
Preparing a Window Wall Frame
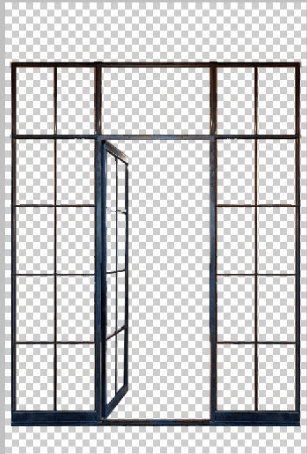
The idea behind this tutorial is to take this product image of a window wall frame, remove its background and rebuild it to be used in a design board.
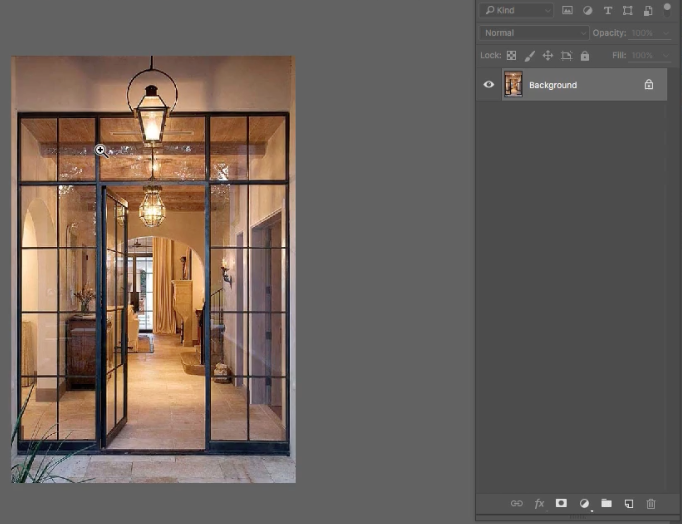
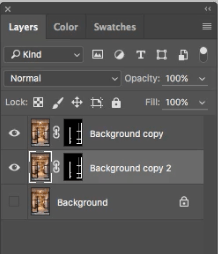
After bringing the product image into Photoshop, duplicate the layer to preserve the original. This is a good “non-destructive habit to get into.
Using the marquee or lasso tools, select the right side of the frame. Since the frame is symmetrical we only need to focus on one side. we can then duplicate that side and mirror it later.
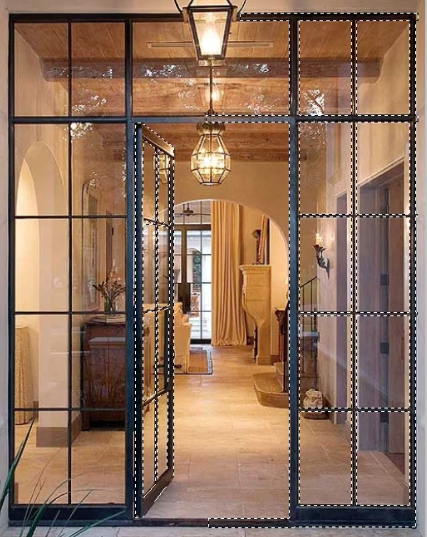
Once the selection is made, click the mask tool button at the bottom of the layer panel.

That will remove anything that isn’t selected, but will make it easy to retrieve later if necessary.
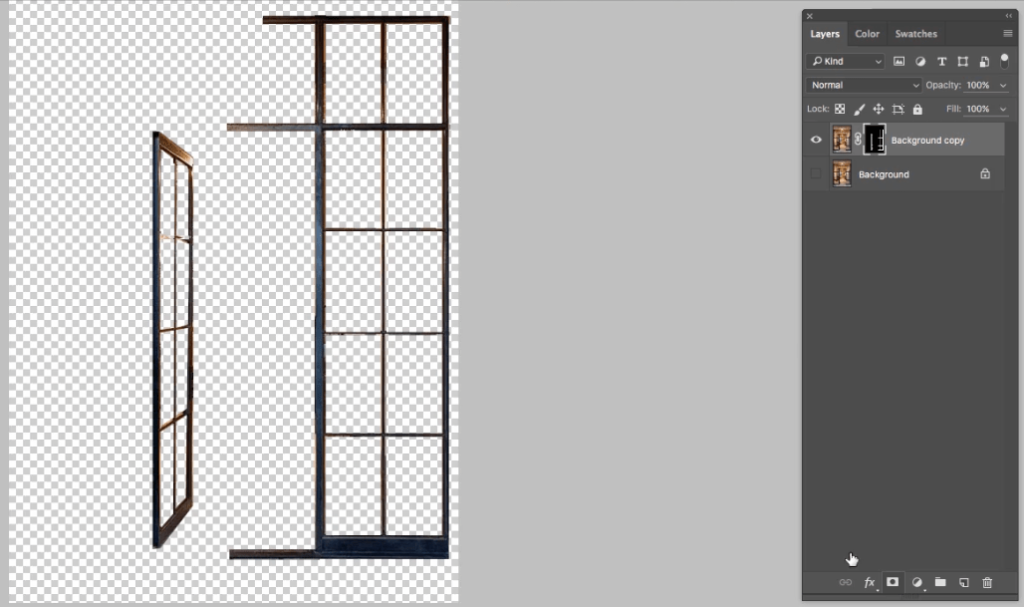
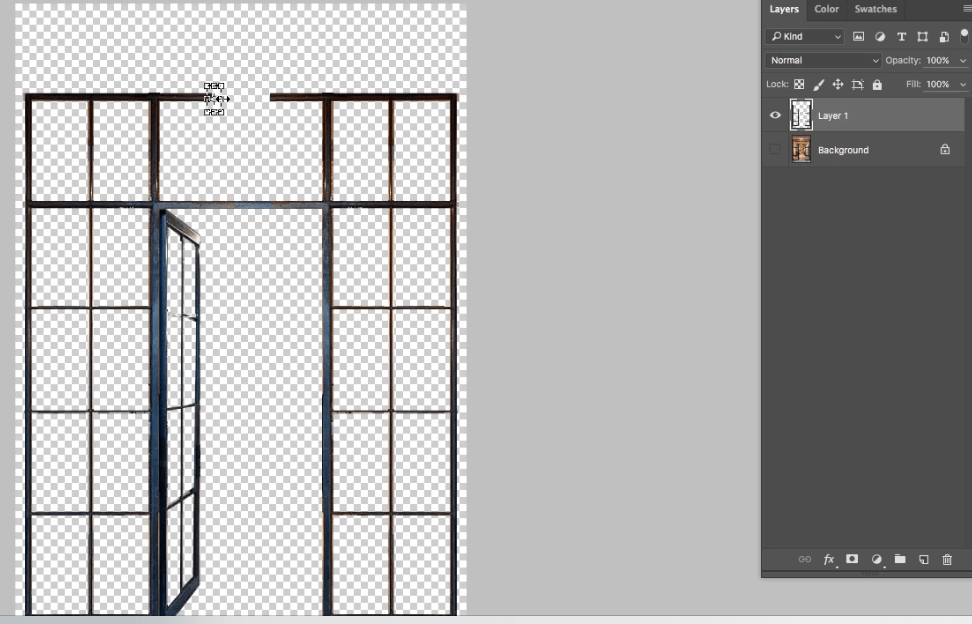
To prepare for mirroring the right side of the window frame, duplicate it by holding “alt” and dragging the layer up or down.
With the duplicate selected, Hit CMD or CTRL T to bring up the transform tool, right click and choose flip horizontal.
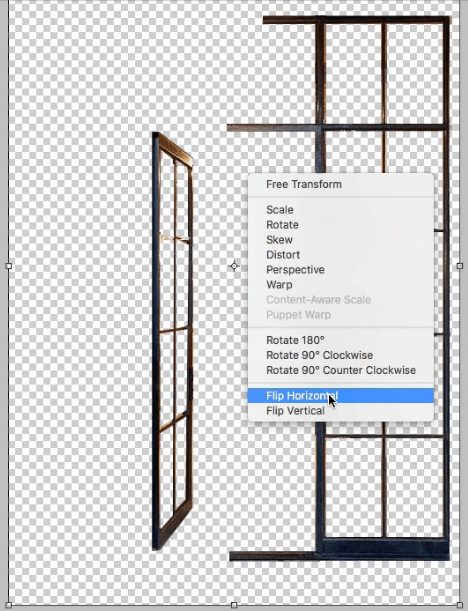

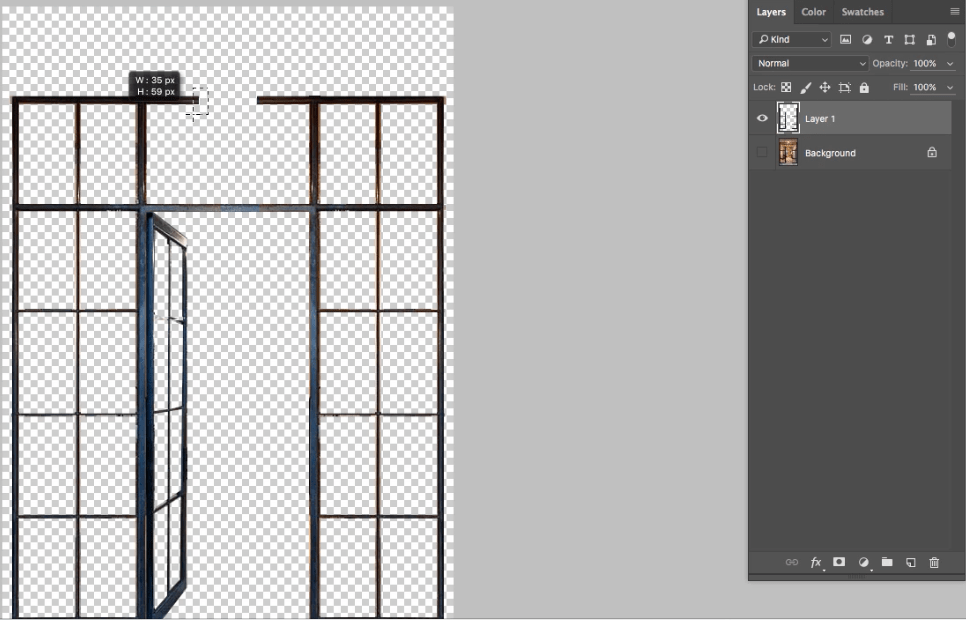
We don’t necessarily need two doors so I will select the right side door.
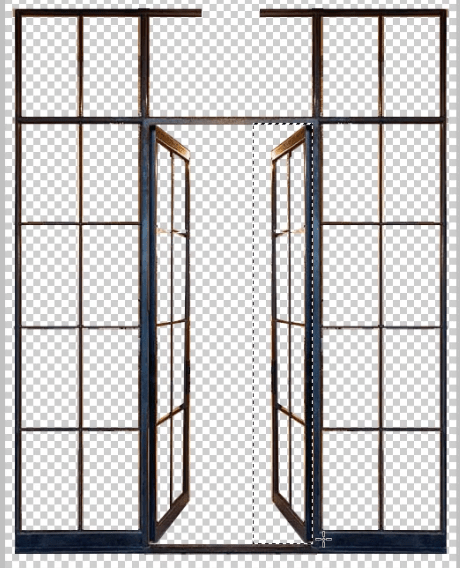
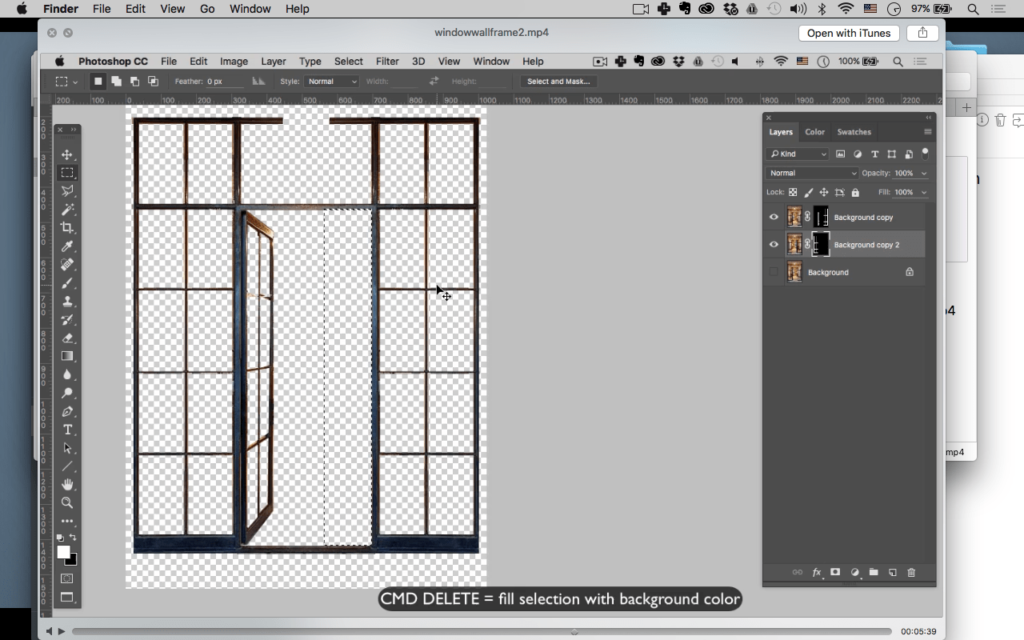
Choose the mask within the layer, and fill it with black to remove its alpha channel. To fill the selection with the background color hit CMD, Delete.
Adjusting the color of the window wall frame.
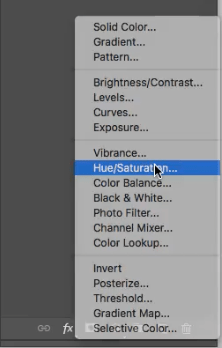
Depending on which environment the window frame will sit in, you may need to adjust the ambient color/light. One way to do this is to use the Hue and Saturation tool. At the bottom of the layers panel select the adjustment layers circular icon.
Then I choose Hue an Saturation.
With the H & S adjustment layer placed above the frame layers I change the saturation and the hue.
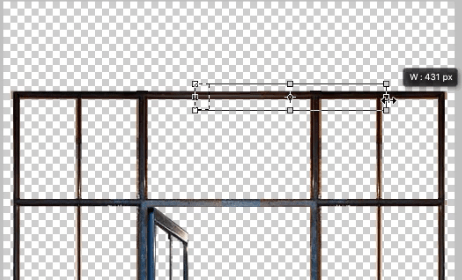
After deciding on a hue, I merge all the layers together by selecting them, right-clicking and choosing “merge layers”. Next, I need to fix the missing piece at the top of the frame. I make a selection of the marquee tool.

Then, hit CMD or CNTRL T to bring up the transform tool.
Next, drag out the left piece to meet the right.
I can now save out the frame as a .png with a transparency.
Conclusion Thank you for joining me in another Photoshop tutorial for interior designers. Hopefully, you can now confidently prepare a wall window product image for concept and design boards.
To take your design boards to the next level and for one-on-one support make sure to check out our design board bootcamp course